
I know it's Friday and I'm supposed to bore you with five things I've found on Pinterest this week. But, surprisingly enough, I haven't actually been there all week long!
I made that cheesecake for Dave's birthday...and let me tell you...that thing was a bitch! It wasn't exactly hard, but very tedious. It required lots of time and lots of precision and I learned lots of lessons! That thing was my baby...my magnum opus...and unfortunately I made it so well that Dave wants it more often. He even said I should make another one this weekend for the fam (I might not get to it this weekend, though....it was a pain in my rear!)
((see my FAB FRIDAY FIVE - CHOCOLATE post for the link to the recipe))
 |
| Baked Oreo cookie crust |
I remembered as I pulled the crust out of the oven that I had wanted to take pictures of my progress...so we're starting here at the already baked crust. Before this happens you have to struggle a little with your spring-form pan because, for some magical reason, the bottom won't line up with the grooves the first 4 times you try to close it. Also, prior to baking your crust, go ahead and wrap the bottom and up the sides about halfway with foil. You'll see why later. (the recipe, I might add, doesn't say to do this....so this was a lesson I learned the hard way). Anyway...at 8 minutes, the crust was a little over-done for me, so I'll do it for 6 minutes next time.
 |
| 4 softened blocks of cream cheese |
The recipe calls for 2 pounds of cream cheese...that's 4 blocks. Let them sit out on the counter for a few hours...they should be real soft...super soft. Also, I had to google this because I always struggle with deciding which attachment I'm supposed to use on my stand mixer....use the paddle attachment, not the whip.
 |
| melted chocolate, cocoa powder, 4 eggs, powdered sugar |
Your eggs should be room temp (same as the cream cheese). I'm horrible at cracking eggs. Without fail, 1 out of every 4 eggs will be a mess. I also have to fish egg shells out of the eggs every time because, well, like I said, I'm horrible at cracking eggs. Because I know this about myself, I always crack my eggs into a separate (dark) bowl rather than the bowl I'm working in. It's just easier that way. You need 10 oz of bittersweet chocolate, chopped. The bars of Ghirardelli bittersweet are 4 oz for about $2.80, but the bags of bittersweet chips are 10 oz for about $3.50. Buy the bag. Toss it in the microwave for 30 seconds at a time, stirring at each interval. If you've never melted chocolate before, here's a tip: chocolate holds it shape when melted until disturbed. So don't take it out, look at it, decide it still looks like chips, and toss it back in. Actually stir it. And use oven mitts...that bowl will be HOT!
 |
| Ready to bake!! |
Once everything is all mixed together, it will be thick...real thick. It'll be difficult to pour. Pour into your pan (with crust still in it) and smoosh it around to be smooth. I apparently sucked at that, as is evident in the picture above. Also, tap your pan on the counter a few times (kind of hard) to dislodge any air bubbles. If you don't do this, you'll end up with a hole in your cheesecake that you had no idea was there....also learned this from experience. Plan time for the baking...it bakes for an hour.
 |
| Fresh out of the oven |
The recipe said an hour to an hour ten minutes. I baked mine for an hour, decided it was done, and took it out. It had cracks, y'all. Not a big canyon, but definite cracks. Because it was still hot, it was still puffed up, so I could see the cracks around the edges. That crack in the middle there...that happened after it cooled. Those cracks, however, were small enough that I knew the ganache topping would erase them from existence. Something else that wasn't in the recipe: put the pan (wrapped in foil...hint hint) in a shallow pan with some water in it. This is called a water bath. The water not only helps to keep the temperature around the cake even, but also adds some moisture into the air to lessen the chance of cracks across the top. Before putting it in the fridge for night, run a thin knife between the cake and the pan to release it from the sides.
 |
| Puddle of grease |
Remember in the crust picture when I told you to go ahead wrap your pan in foil? This is why. The spring-form pan is not...NOT...leak proof. Cream cheese has a fair amount of oil in it. When baked, that oil looks for a place to go.....like the vulnerable bottom of the pan! After I put the cheesecake in the oven, I took Aria upstairs for bedtime. She went back downstairs to tell Dave night night, came running back up and said that she could smell the cheesecake and it smelled good! So of course, as I'm walking down the stairs I'm waiting for the sweet aroma of chocolate cheesecake to fill my nostrils. Instead, I'm greeted with the smell of smoke and burnt oil. What the hell?! I go to the kitchen, which is smoky, turn on the oven light, and notice that the entire oven is full of smoke! My thermometer was still reading 350, so I knew the oven wasn't burning too hot or anything. As I removed the cheesecake from the oven when it was done, I noticed a few drops coming off the bottom of the pan. That's when I saw it: the puddle of oil at the bottom of my oven (that says, no doubt, "do not use foil on bottom" so cleanup is NOT a breeze). I had found the source of the smoke ...but was infuriated that now I had to clean my oven before dinner tomorrow and I was extra nervous that the cheesecake would taste like smoke and burnt oil. So lesson learned: wrap the pan in foil and place in a pan of water...the foil will catch the oil, and if it doesn't, the pan of water will!
 |
| Making the ganache |
Making ganache is actually easier than the name suggests. It's just heavy whipping cream and chocolate melted and stirred together on the stovetop. Invest in a heat-proof non-metal whisk (if you have non-stick pots)..,it'll come in handy here! I made this the next day after the cheesecake had sat in the fridge overnight (still in the pan!) and properly cooled. Let the ganache cool on the counter top before pouring over your cheesecake. After you pour it on, use an offset spatula to spread and flatten it out. Spread it all the way to the edge of the cake until it drips down the side. When your cake cooled, it should have constricted and pulled away from the sides a bit leaving a small gap for the ganache to fall in.
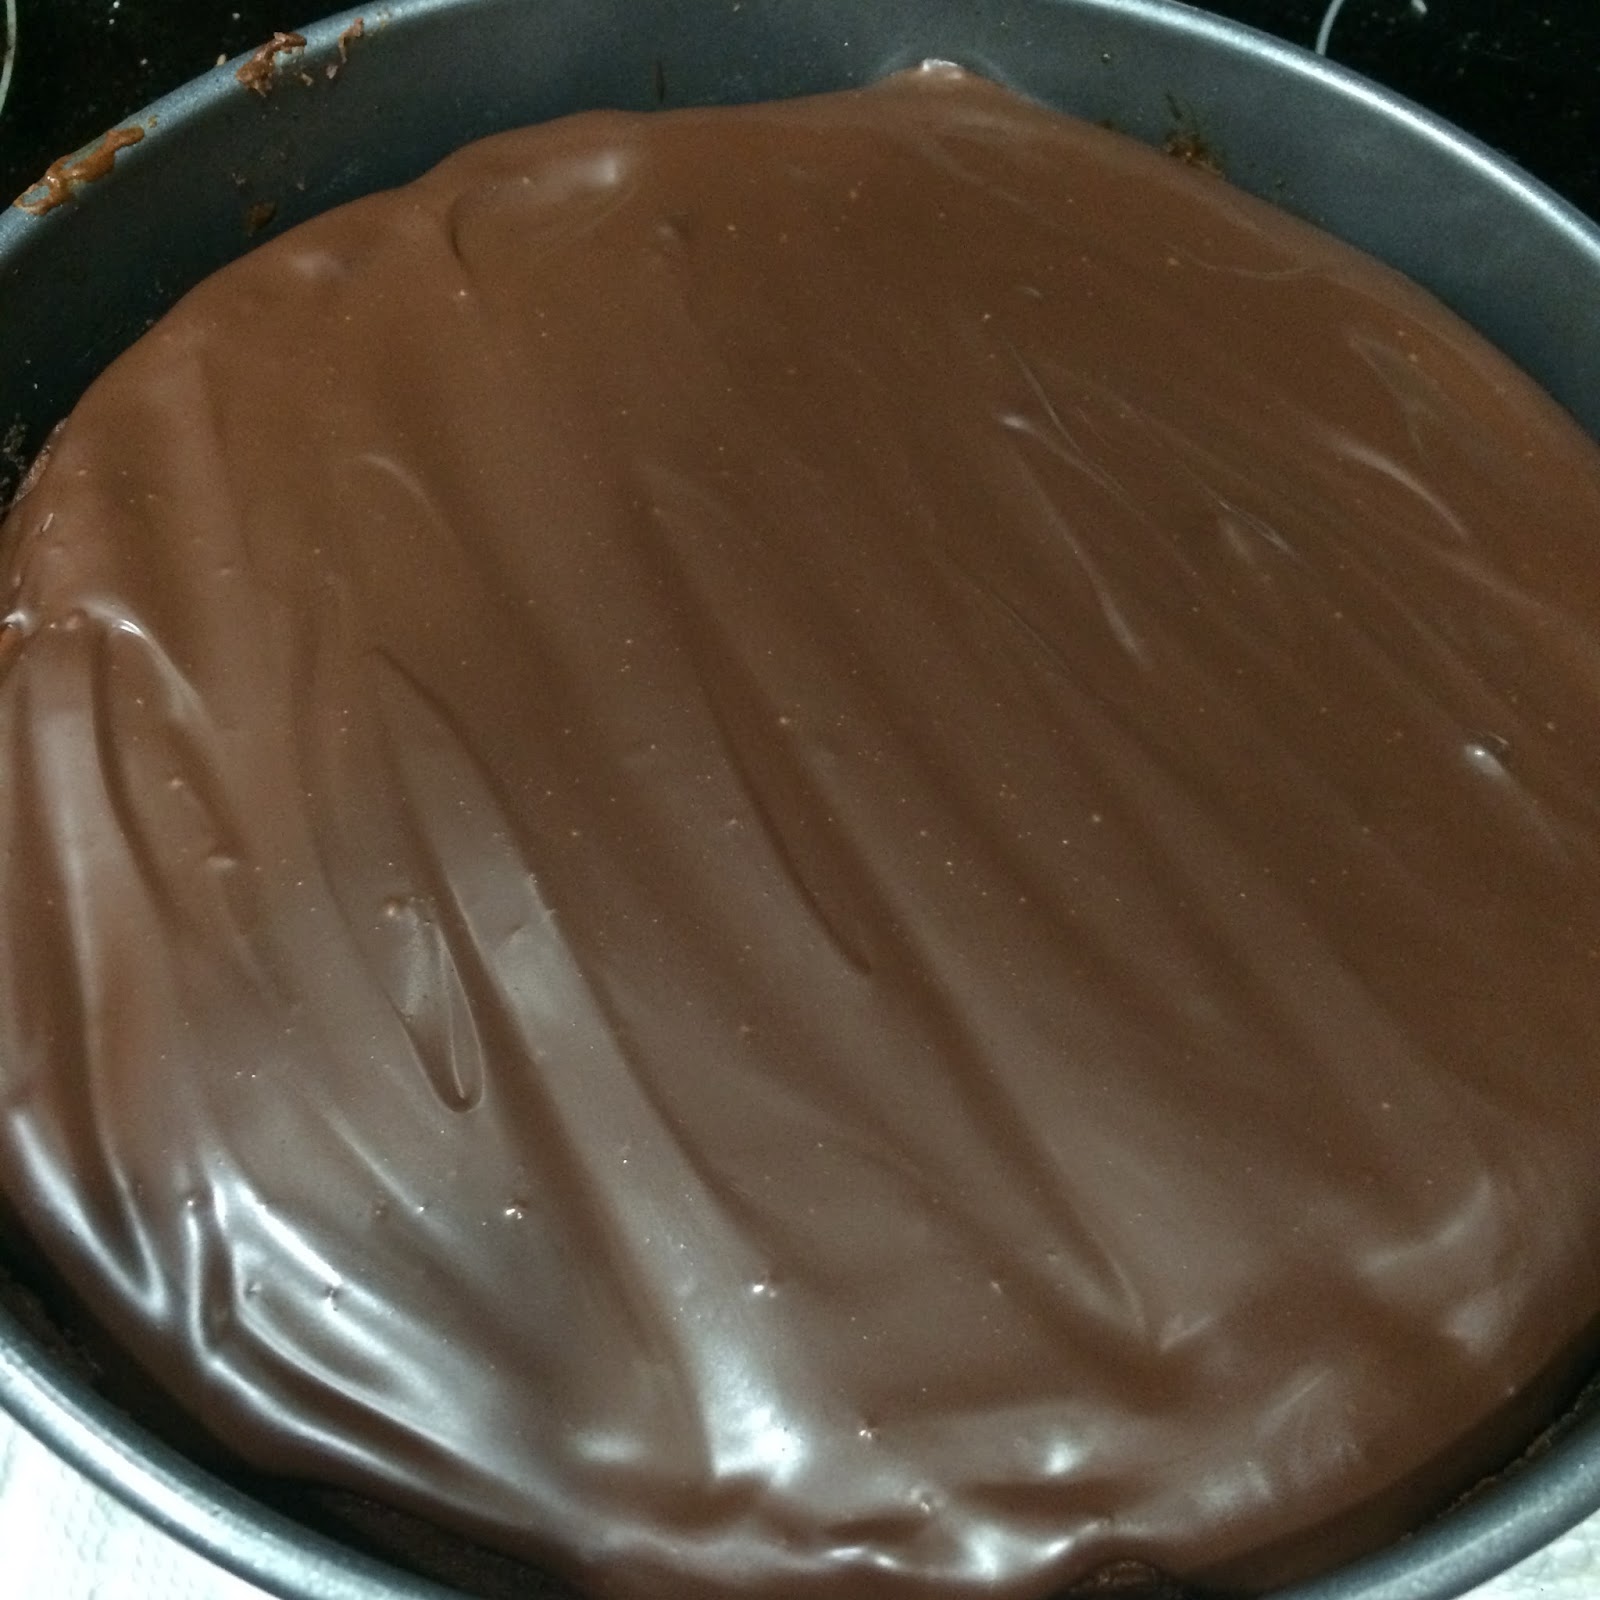 |
| Finished product |
So after you've let that bad boy cool in the fridge again, it's time to serve it (or garnish it and then serve it). To be honest, I think I would have preferred to leave it like this. It's just so pretty and shiny! Go ahead and release your spring-form pan and pull that bad boy off. Ta da...a cheesecake!
 |
| TA DA! |
I put chocolate curls on mine, but I'm not sure what sort of crazy hybrid chocolate bars people use to make curls, but my curls were teeny tiny. AND...when you shave all your curls onto a styrofoam plate, and then pick up the plate to dump on top of your dessert, there's some crazy static field that pulls all your chocolate shavings off and onto your work surface. So keep that in mind!
This bad bay was super rich and decadent, but not in a sickeningly sweet sort of way. One piece is too much for me. Just too much. It got Dave's seal of approval, though! (And of course Aria loves it!)
Have a great weekend, folks!
No comments:
Post a Comment